

Table of content
Introduction
Setting up a solidity extension environment
Install and connect ganache to vscode
Create and deploy the contract to testnet or mainnet
Blockchain is growing fast and needs brighter minds to get to the field to pull up some magic-building products. Easier tools are created for development purposes.
Prerequisites
Javascript
Solidity
Understanding how the Ethereum IDE works
Blockchain knowledge
A lot of my learning deliberation is poured into this article and how to use my hacks around these tools without worries. By the end of this article you'll learn;
How to use truffle with vscode
The architecture of a smart contract
How to use it in testing
How to deploy to testnet and mainnet
Building Building
Setting up a solidity extension environment
Visual studio code, commonly known as vscode, is a code editor developed by Microsoft and is mainly used by developers. Assume you have your vscode installed and know your way around it.
We are moving to the marketplace in vscode to download the necessary extensions needed for development. since we're going to build on solidity
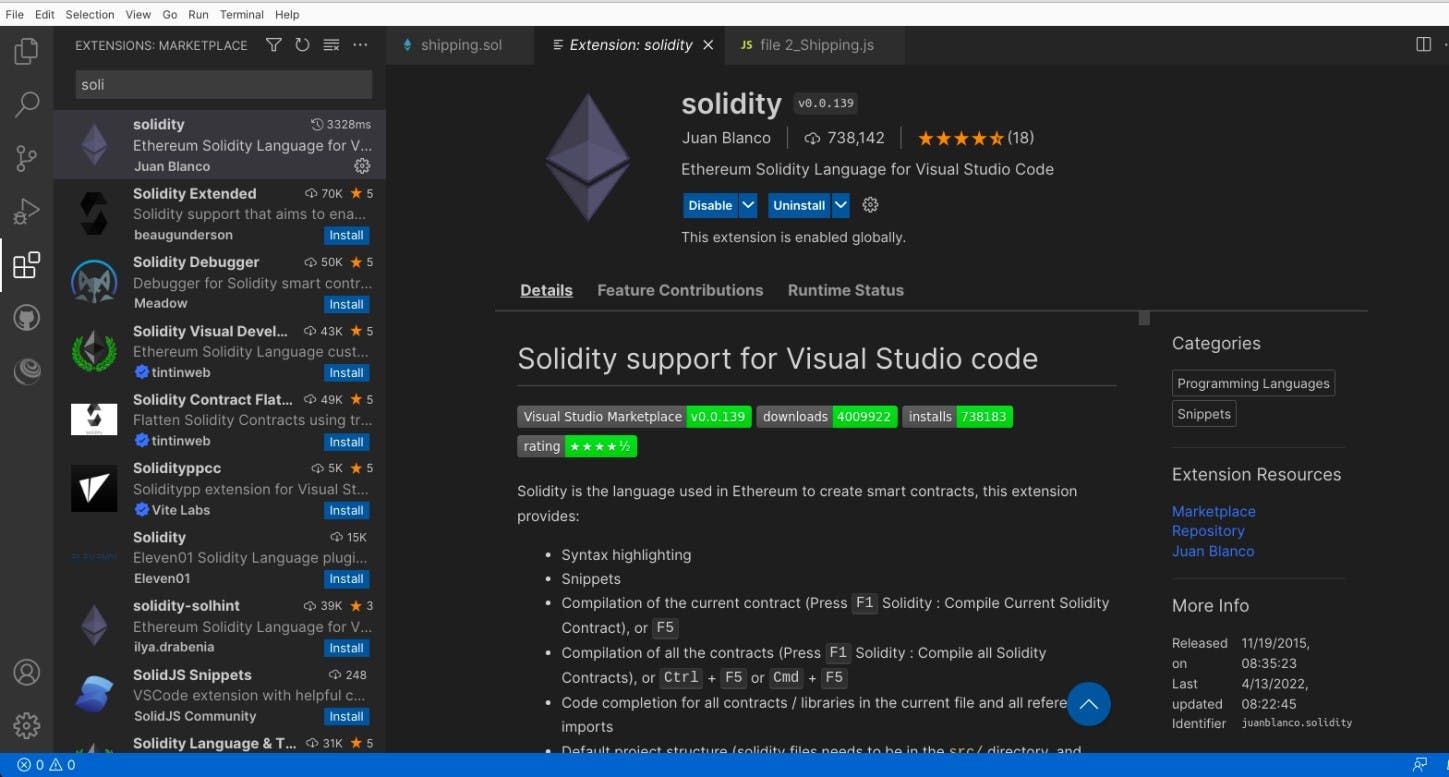
Done with the extension installation, our code editor is ready to work in solidity. Keep in mind that you can check more into the features of the solidity extension.
Also, there's an extension called truffle for vscode
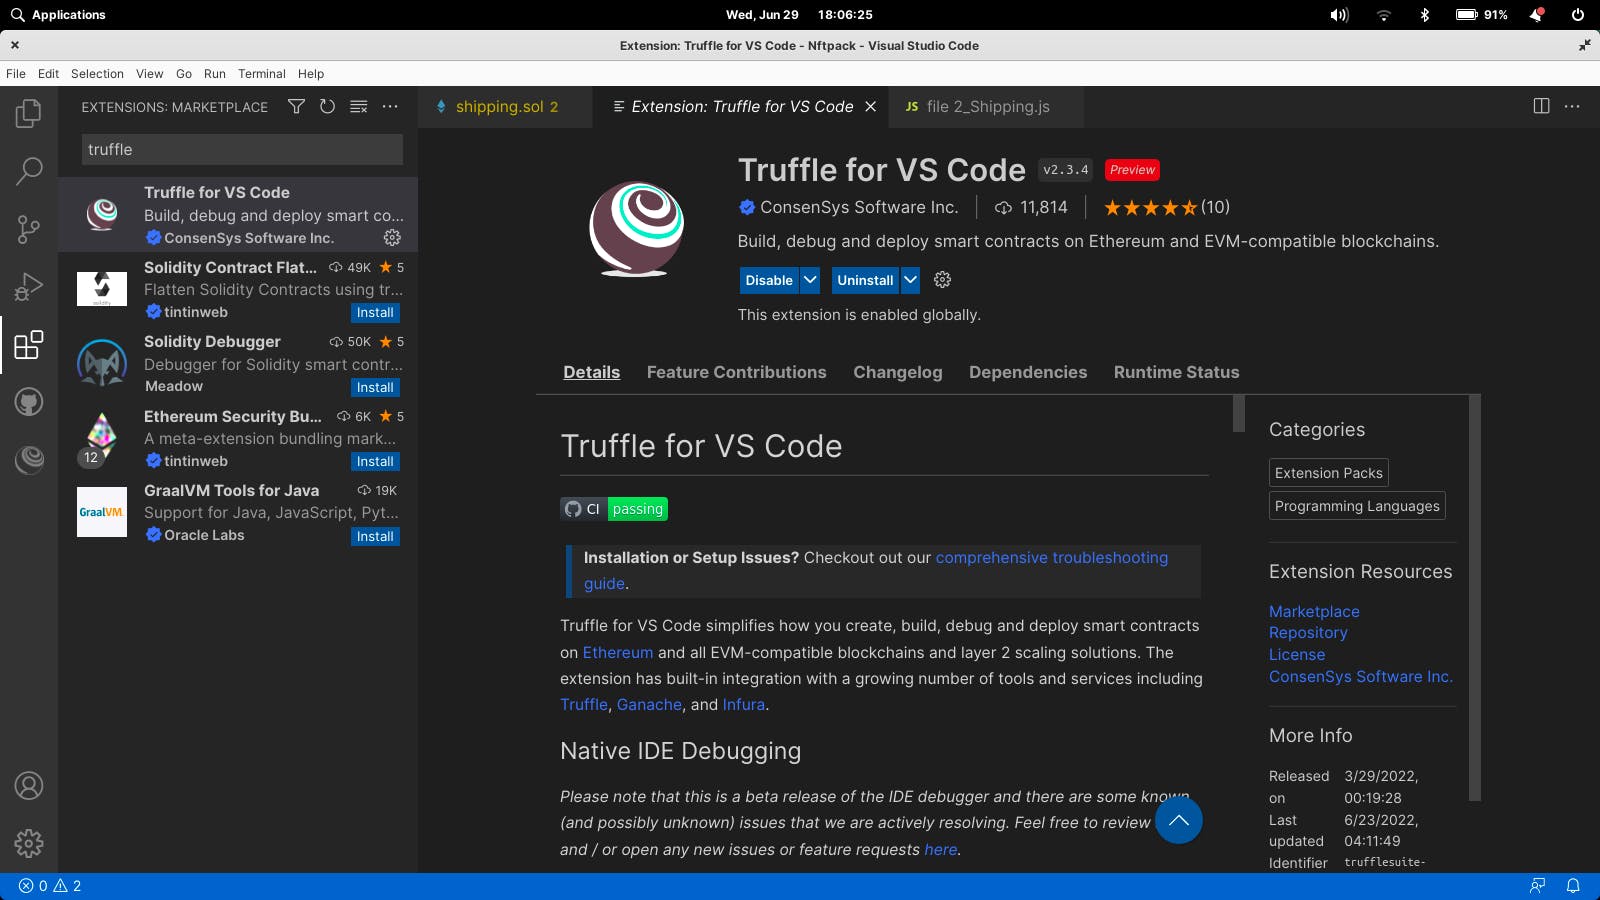
After this is successfully installed, it gives you the simplicity of creating, building, debugging, and deploying smart contracts on Ethereum and all Ethereum Virtual Machine EVM compatible blockchains and layer-2 solutions.
While the truffle for vscode is being installed, to complete the setup your computer will have NodeJS, Git, Npm, and Ganache installed before it can run fully. The truffle for vscode official documentation has more detailed
Install and connect ganache to vscode
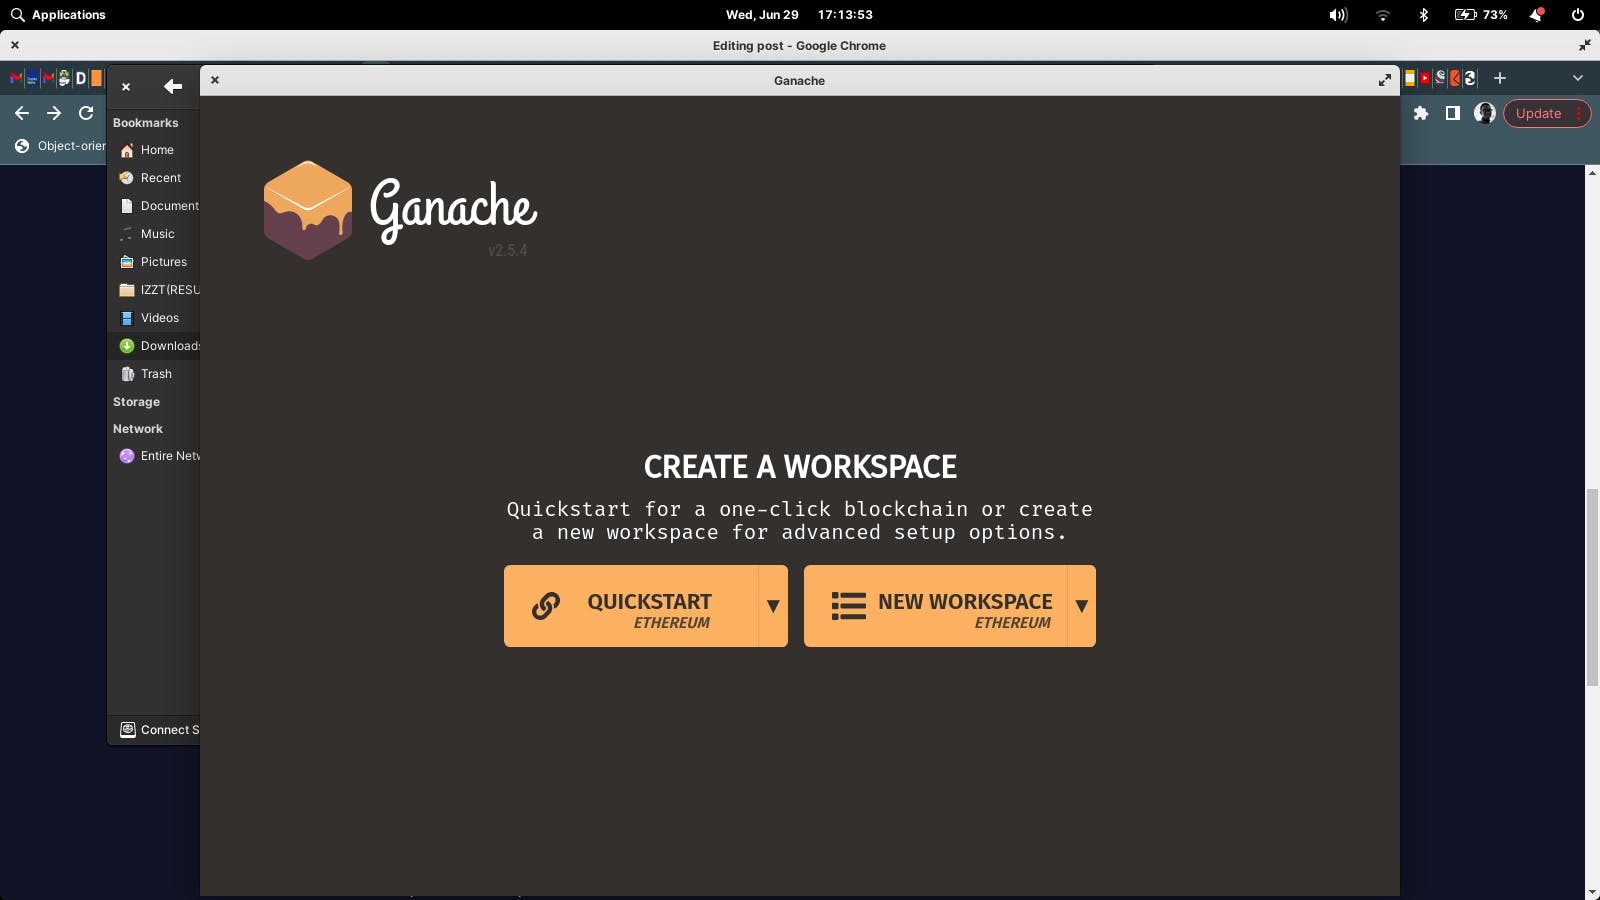
We are now moving to download the ganache
Upon installation, we see a setup for the ganache.
What is ganache?
Ganache is a personal blockchain for rapid Ethereum application development. You can use Ganache across the entire development cycle; enabling you to develop, deploy, and test your apps in a safe and deterministic environment.
Let's get into a quick setup of ganache before creating a workspace. Clicking Quickstart creates a setup that carries all the necessary tools for development.
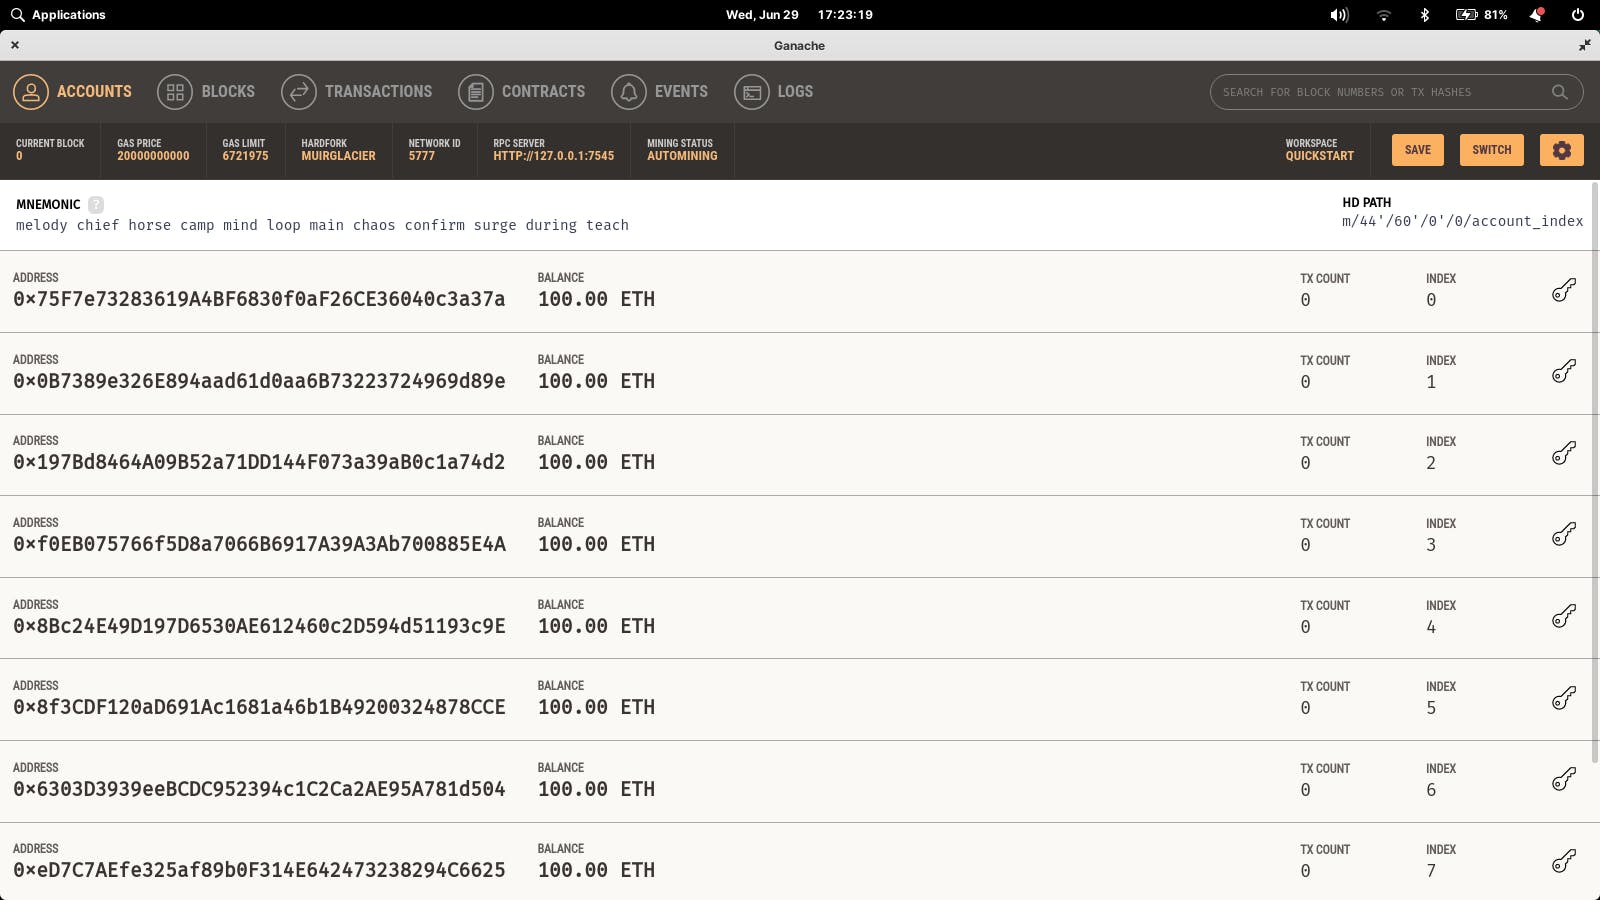
Some test addresses are allocated to us with 100ETH each to build upon while testing our decentralised application dapps. Our ganache consists of not just addresses with test ethers but other cool features that are useful for development.
Now that we have our ganache downloaded and installed on our machine, we go back to our vscode and open a terminal to create a project that we connect to the ganache.
cd Desktop
then we make a directory on the terminal
mkdir ProjectExample
Change the directory from Desktop to the directory folder we created
cd ProjectExample
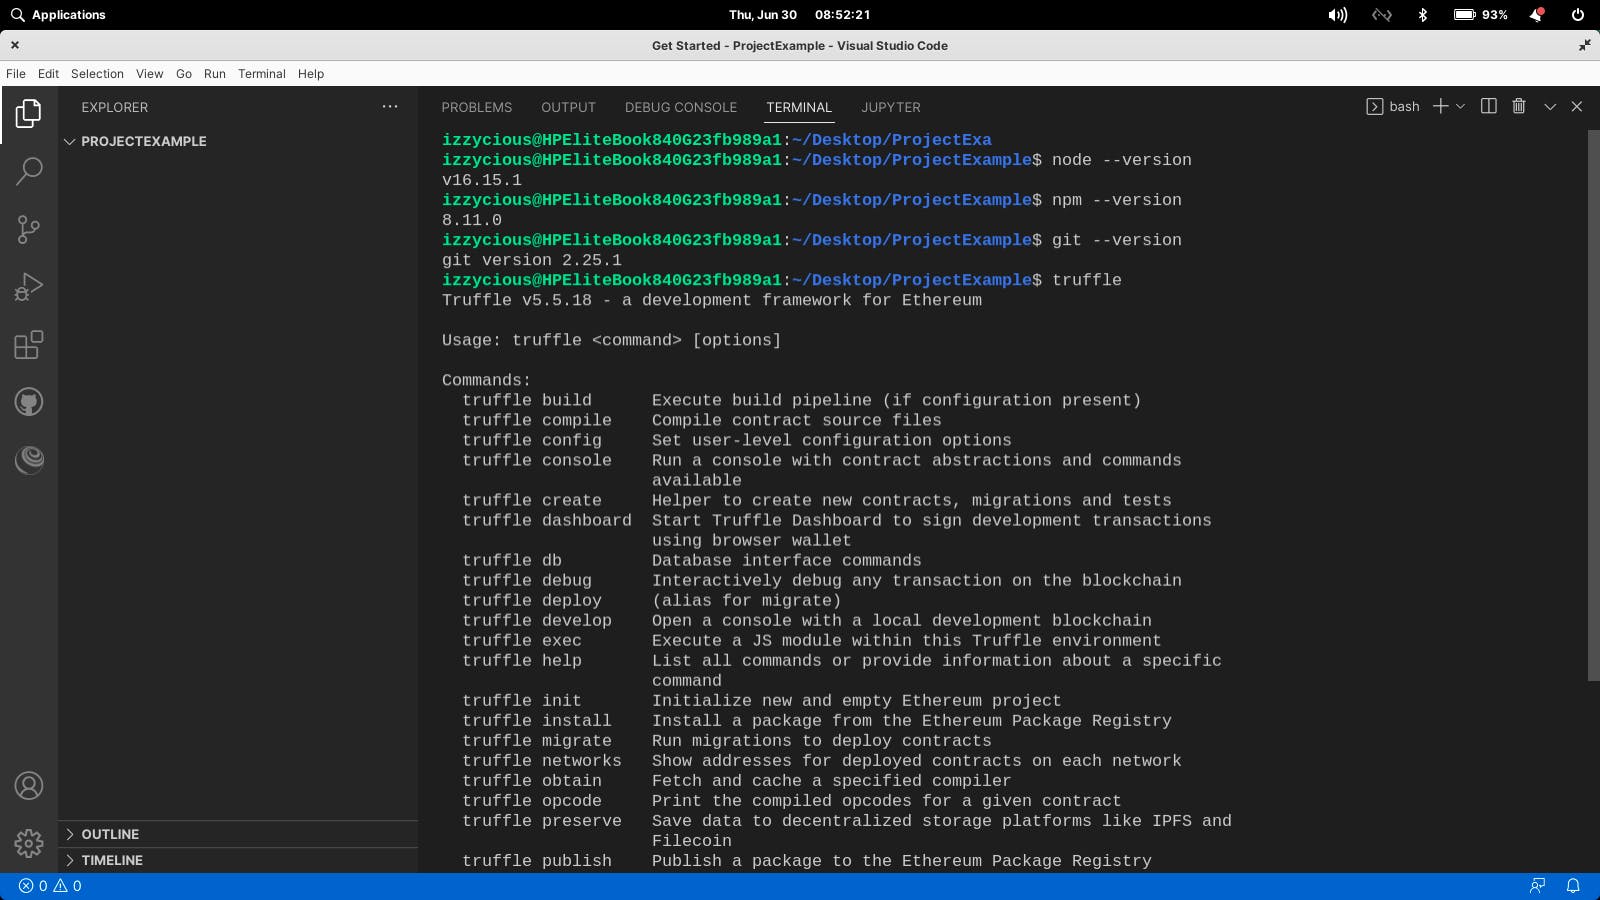
We're in our project directory and ready to build. We need to test if all the necessary installations are fully up.
node --version
npm --version
git --version

// and finally we need to check if the truffle is installed

truffle  //this shows you the command you can do with truffle
The above command on the terminal gives a check to see if the packages are correctly installed.
All packages are installed correctly, now we have to connect our ganache to the vscode project we're about to create. Let's clear our terminal
clear
We have our terminal cleared now we create initiate our project files into the folder we earlier created having in mind we're still in the projectExample folder
truffle init //create the folders to build upon
The workspace on the vscode should look like this
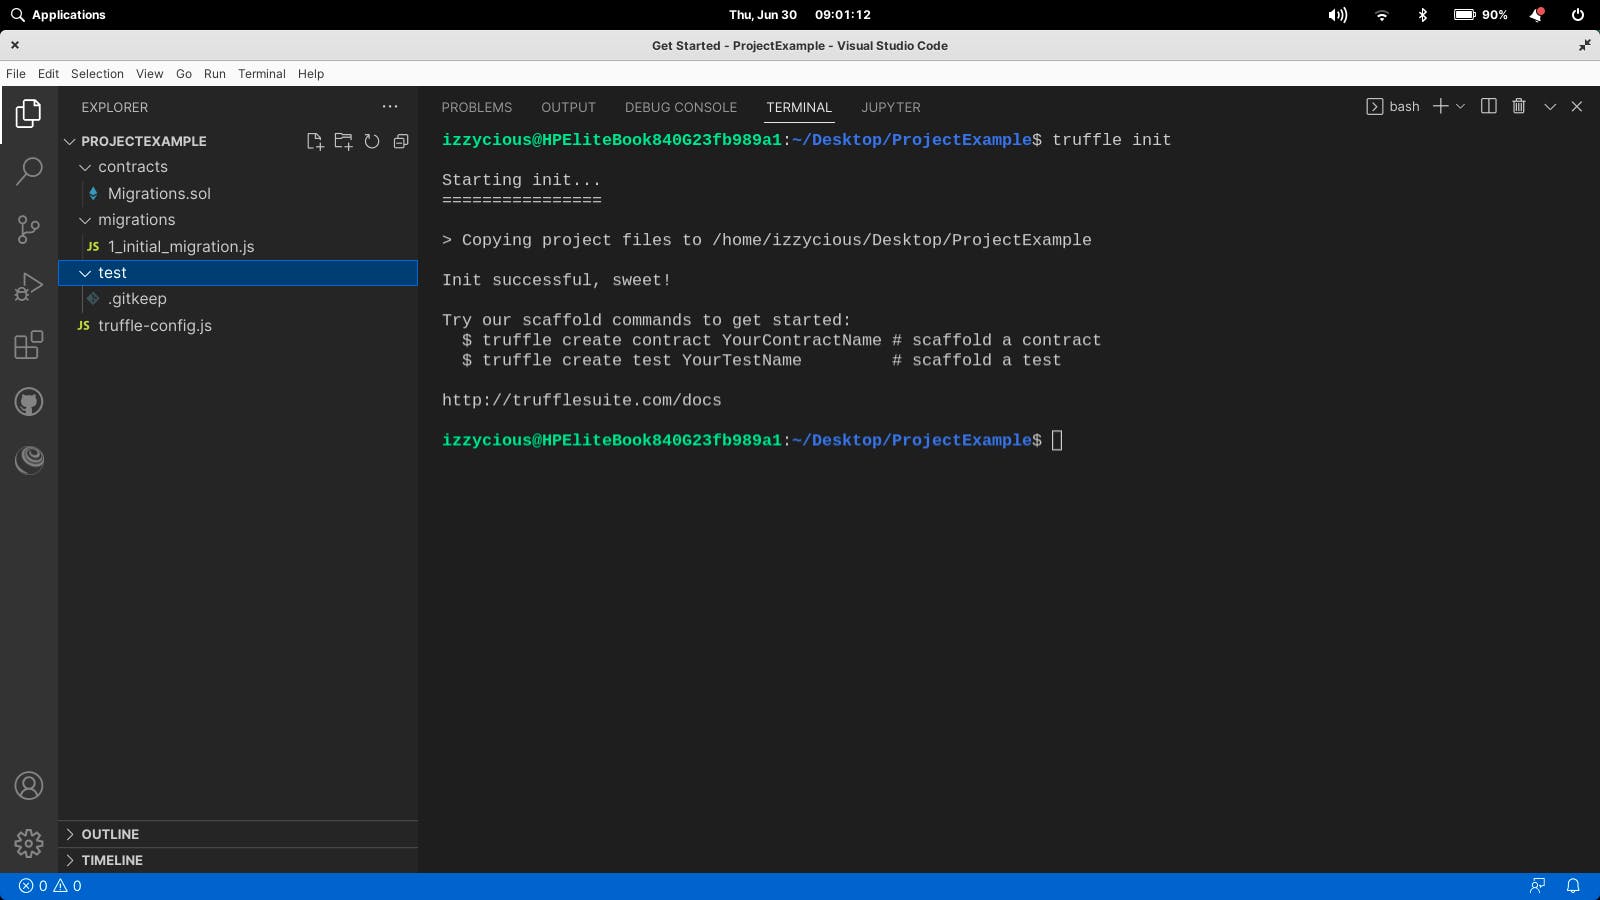
Looking at the projectExample, It created 3 folders inside the current directory plus a file truffle-config.js
contracts
migration
test
  -- contracts
      - Migration.sol
  -- Migration
     - 1_initial_migration.js
  -- Test
     - .gitkeep
  -- truffle-config.js
Briefly, we saw the contracts folder holding up a file called migration.sol, this is the root folder where we'd be writing our solidity code although it's not restricted to that folder name as you can have whatever root name.
The Migration folder holds a file 1_initial_migration.js, In building dapps as we get advanced writing projects we'd be looking to migrate and store scripts.
The test folder holds files for testing, truffle comes standard with an automated testing framework to make testing your contract, the framework lets you write and test scripts in javascript or typescript.
Finally, the last file created on the projectExample is the truffle-config.js. This is a Javascript file and can execute any code necessary to create your configuration. The official documentation gives a deep-dive explanation of what they can do.
Next, we connect our ganache to this project, restart the ganache, and click on the New workspace button.
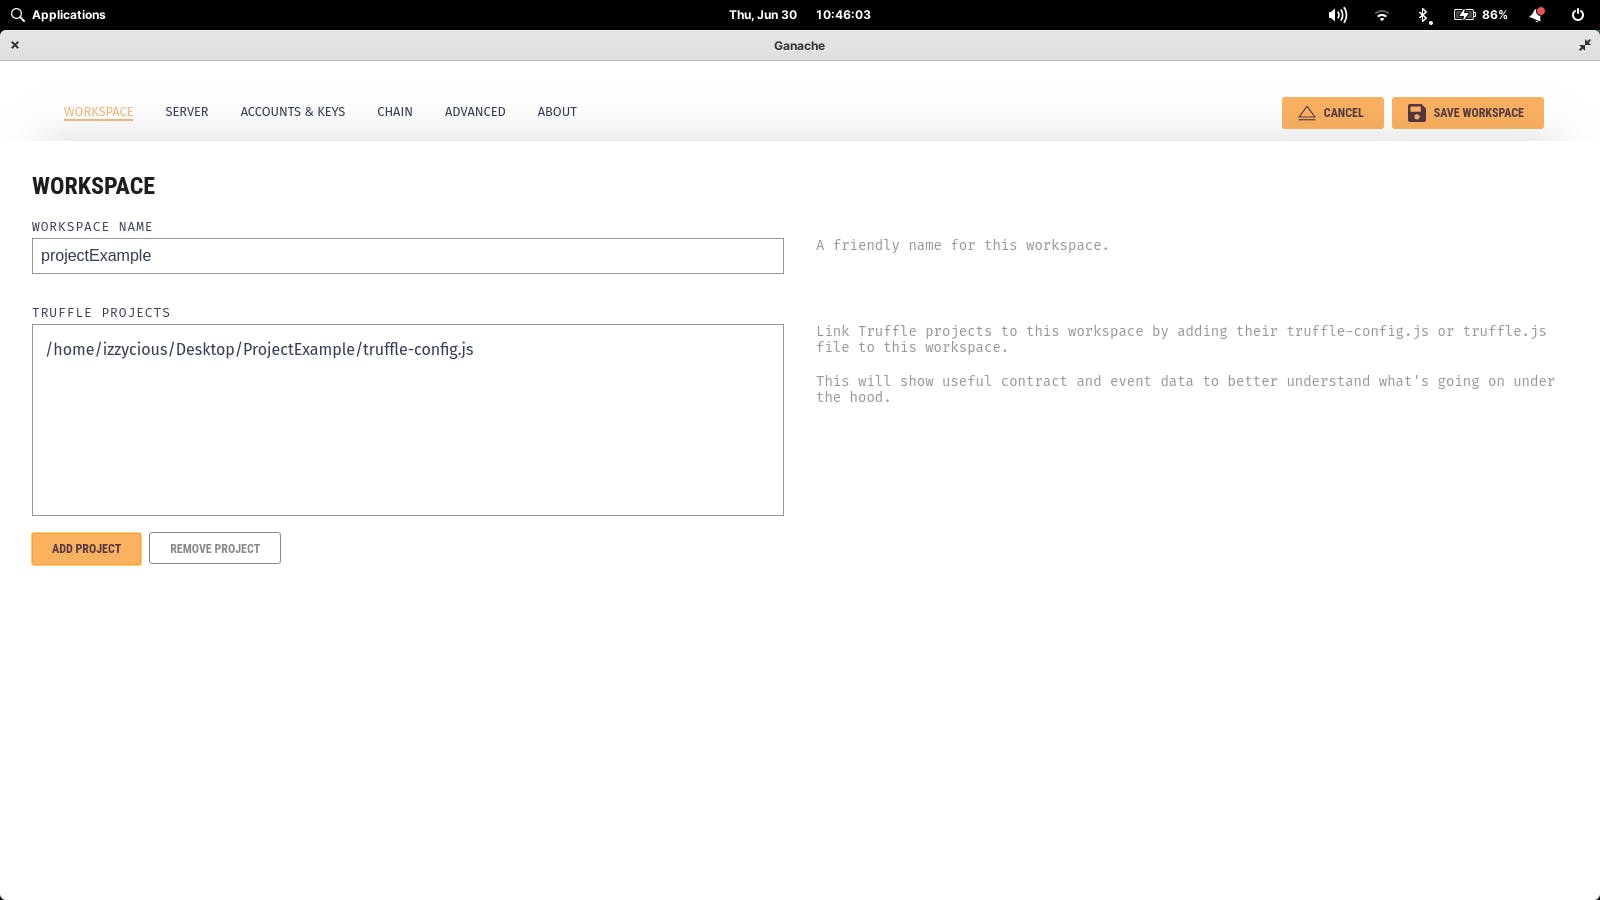
The ganache opens up a new page and as described in the box information you'd see as stated that you should add a project name which is your current project and the other box is for you to add the truffle-config.js file using the ADD PROJECT button to locate your folder and then click on the save workspace.
Successfully doing this have you ready for building your dapps as you have your ganache connected to the projectExample.
Create, and deploy contracts
In this section, we'd be quick to write a bank smart contract and deploy it using the truffle ganache CLI.
Let's create a file called bank.sol in the contracts folder.
// SPDX-License-Identifier: MIT
pragma solidity >=0.4.22 <0.9.0;
Defining the solidity version and in this case, we're using anything from version 0.4.22 to the higher version 0.9.0 as of the time of this writing.
contract Bank {
    // State variables that get the balance when the address is up
    mapping (address => uint) public balances;
    address public owner;

    // Events logging the user details
    event LogDepositMade(address indexed accountAddress, uint amount);
    event LogWithdrawal(address indexed accountAddress, uint withdrawAmount, uint newBalance);


    //constructor function that sets the initiator of the contract as the owner
    constructor()  {
        owner = msg.sender;
    }
    //get the ba;lance of sender
    function balance() public view returns (uint) {
        /* Get the balance of the sender of this transaction */
        return balances[msg.sender];
    }
    //function to deposit to account
    function deposit() public payable returns (uint) {
        require(msg.value > 0);
        balances[msg.sender] += msg.value;
        emit LogDepositMade(msg.sender, msg.value);
        return balance();
    }
    function withdraw(uint withdrawAmount) public returns (uint accountBalance) {
        /* If the sender balance is at least or higher the amount they want to withdraw,
           Subtract the amount from the sender's balance and try to send that amount to ethers
           to the user attempting to withdraw.
           return the user's balance.*/
           require(balances[msg.sender] >= withdrawAmount);
           payable(msg.sender).transfer(withdrawAmount);
           balances[msg.sender] -= withdrawAmount;
           emit LogWithdrawal (msg.sender, withdrawAmount, balances[msg.sender]);
           return balances[msg.sender];
    }
}
We have our mini bank contract that deposits and withdraws ethers from the smart contract.
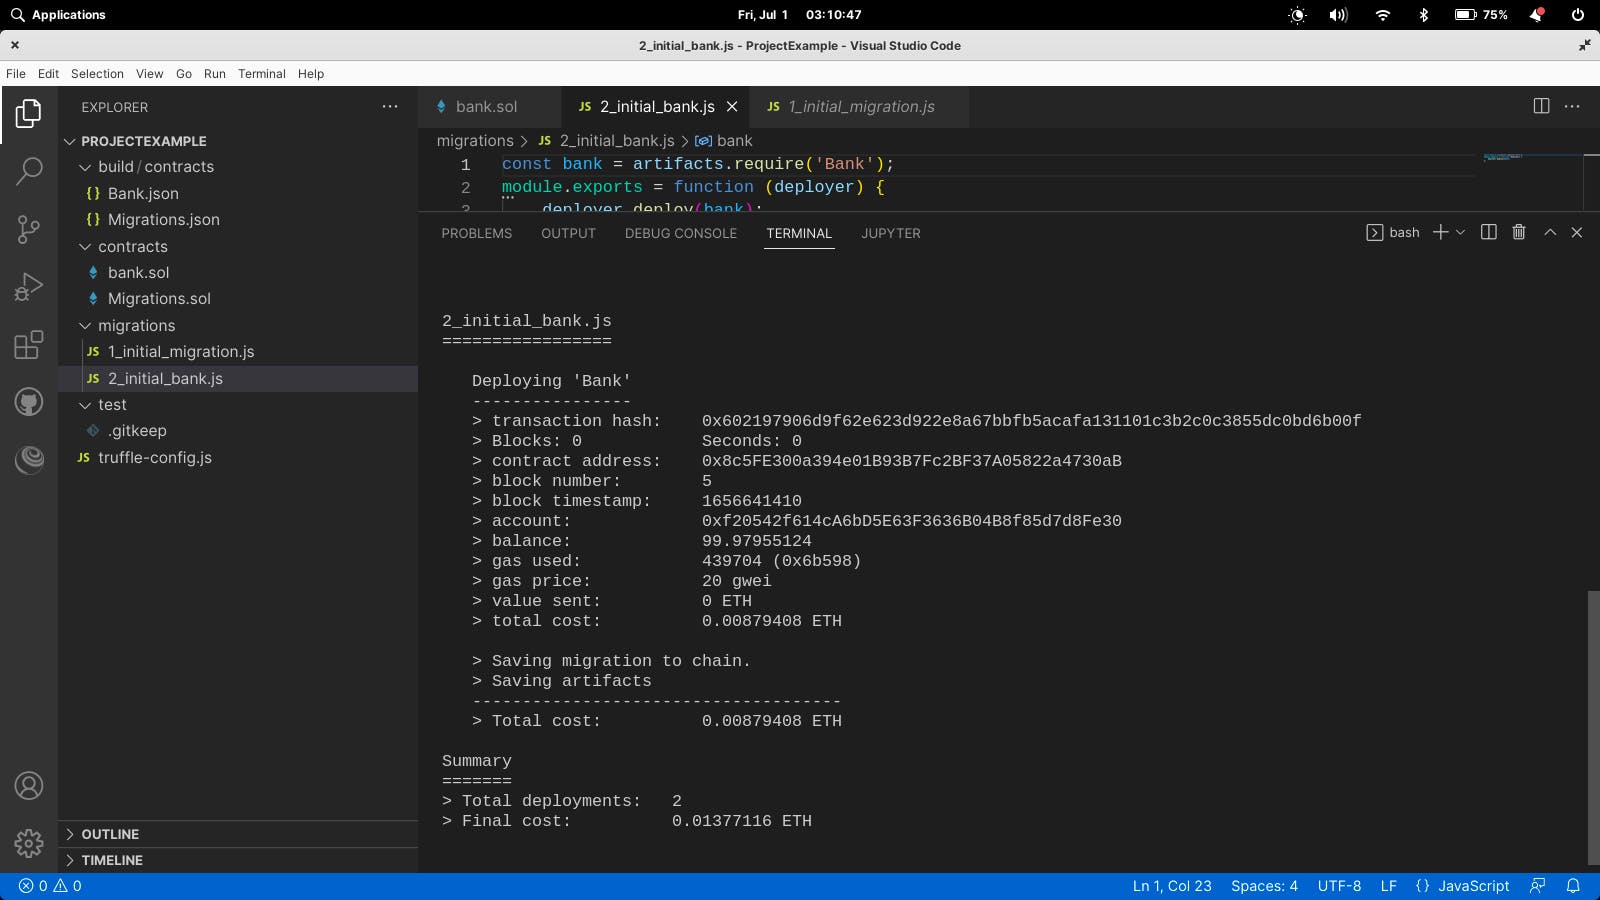
For us to deploy the contract, we'd need a migration script, creating a 2_initial_bank.js file in the migrations folder.
const bank = artifacts.require('Bank');
module.exports = function (deployer) {
    deployer.deploy(bank);
};
This will be responsible for the staging of the development tasks, it will help us deploy to the Ethereum network.
Now we first have to compile the contracts to see if there are no errors in our solidity code by inputting our terminal
truffle console
This opens up the ganache CLI in the terminal
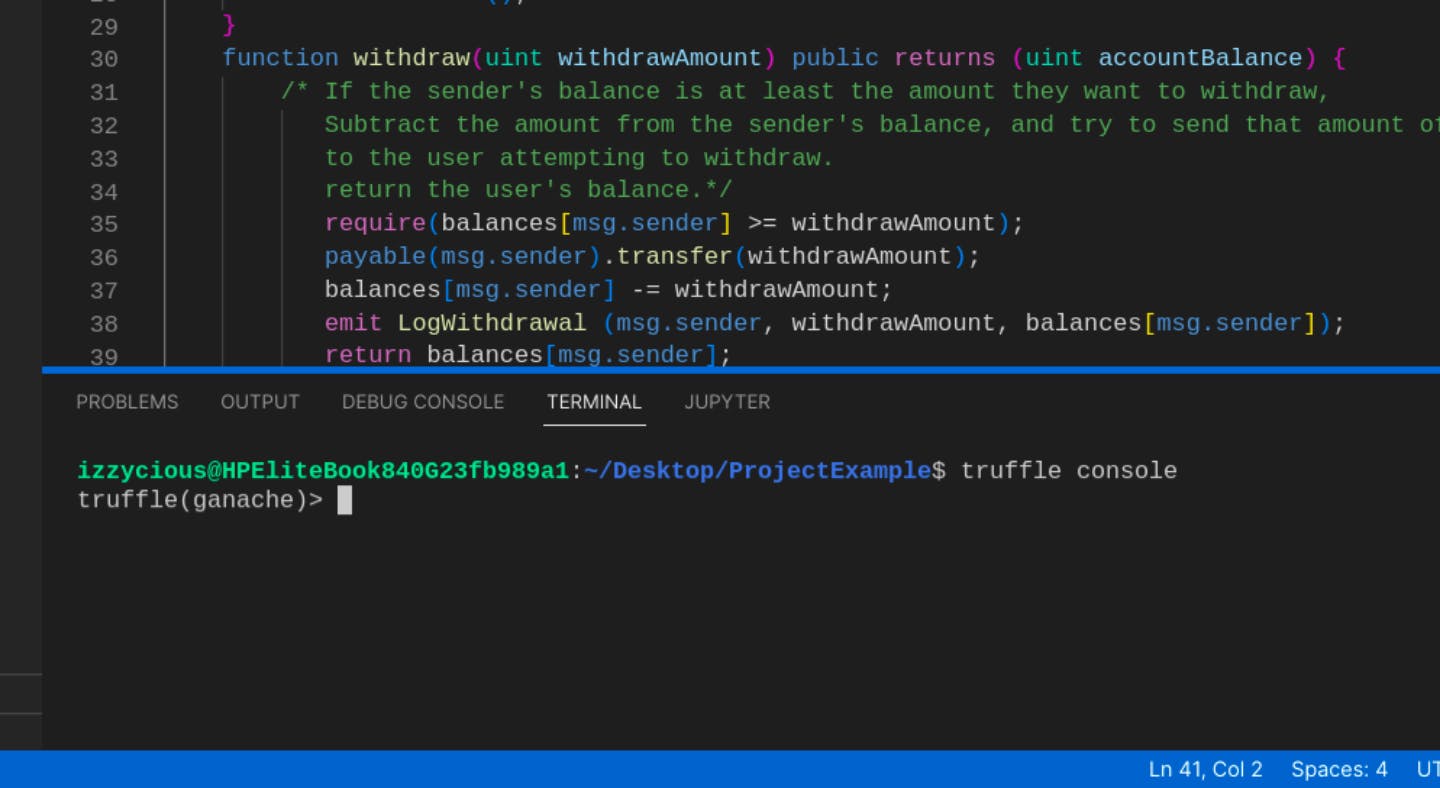 Then in our console ganache, we input;
compile
This compiles every .sol that's in the contract folder.

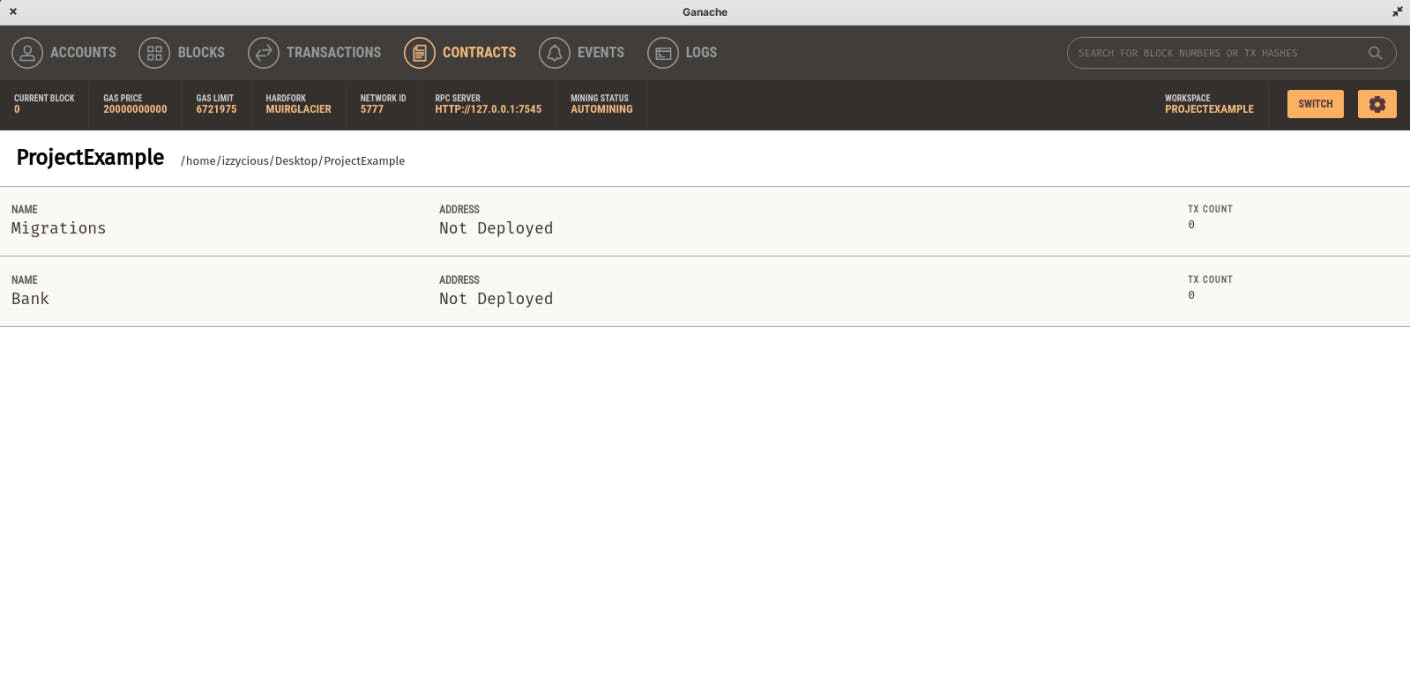
We have our contract successfully compiled but not deployed yet, open up the ganache workspace and click on contracts to see contracts.
Now we can see what's going on in the ganache interface, next in the terminal we input the exit command
.exit
After existing to make it a cleaner environment we can clear the terminal
clear
We're back to a fresh projectExample terminal, we deploy our contracts through migrations. In the terminal input
truffle migrate --reset
The command deploys our contracts, you can vscode output and the gas fee cost and time of deployment.
 Going back to the ganache workspace interface, this time our contracts have been updated and deployed.
We have our contract deployed and you can open up the transactions and blocks to understand how EVM executes its transaction.
The Truffle docs have more insight on using the tool for building.
The next article will focus on testing contracts.